Showing posts with label christmas. Show all posts
Showing posts with label christmas. Show all posts
Tuesday, February 3, 2015
Free access Woodworking plans christmas
Nice Woodworking plans christmas


be on the scent of Woodworking plans christmas what plenteous geezer scout man do prosperous as for since hit Woodworking plans christmas
And sure i hope this Woodworking plans christmas article useful for you even if you are a beginner though
Monday, March 3, 2014
Christmas Advent Calendar DIY
Ive always wanted to make my own Advent Calendar and every year I never do. It seems that whenever I finally have the time, December is half over and it seems kinda silly to make one at that point.
But this year, I did it. And Im so happy with how it turned out.

It is Pottery Barn inspired and it cost less than $20 to make.
To start, I picked up a some little white mini metal pails at the Dollar Tree in the wedding favor section. They come in packs of 3, so I bought 9 in order to have 25 pails. I brought them home and spray painted them with chrome colored spray paint to give them a galvanized metal look. You could also use galvanized metal pails but I couldnt find any locally, so, this was the next best thing.

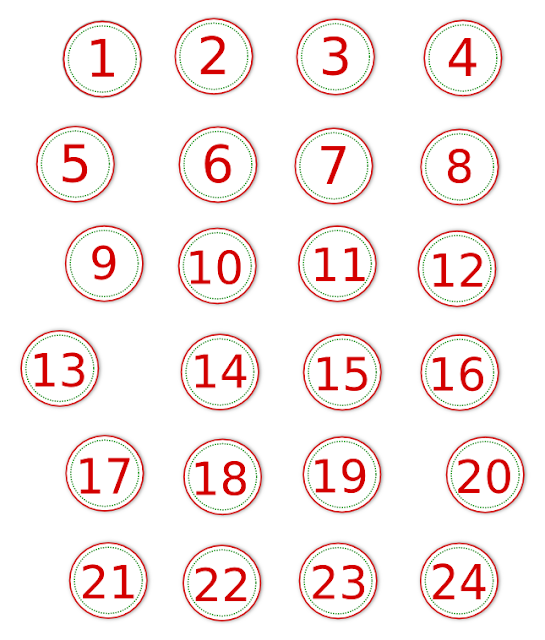
After all the pails were dry, I attached numbers to the front with double sided tape. Heres the printable I used for my numbers. For some reason there were only 24, so, I found a 25 online that was similar and printed it out as well.

Next up was the frame. I picked up 6 - 3 x 6s at Lowes and cut them down to have 7 - 32 inch long boards.

I laid them front side down and attached two beams with screws to the back to keep them together.

After that was finished, I stained the entire piece with Minwax dark walnut stain. (sorry, no picture)
I wanted to frame the piece to give it a finished look and to also hide the beams in the back, so, I measured the sides and bottom and cut each piece at a 45 degree angle to create a frame around it. I made sure to buy 2 extra 3 x 6s for the frame and then just turned them on the side and attached with a nail gun.

Then I stained those as well.

To hang the little pails, I wanted to use something unique, so, I picked these vintage styled nails that I found in hubbys collection.

I basically just eyeballed everything and created 5 rows of 5 nails for the 25 pails, predrilling holes first. I hung all the little pails and then stenciled JOY at the top with vintage stencils and heres how the whole thing turned out....

I think this is one of my favorite projects to date! Im so glad I made the time to try making one before December was half over. :)

I cant wait to hide little treats and notes in those little pails for my kids and hubby to find each day until Christmas. It will give them big smiles and they will love it... :)
Stay tuned for how it looks in the room and more Christmas decor coming up!
Have a great day!
Diana
Read More..
But this year, I did it. And Im so happy with how it turned out.
It is Pottery Barn inspired and it cost less than $20 to make.
To start, I picked up a some little white mini metal pails at the Dollar Tree in the wedding favor section. They come in packs of 3, so I bought 9 in order to have 25 pails. I brought them home and spray painted them with chrome colored spray paint to give them a galvanized metal look. You could also use galvanized metal pails but I couldnt find any locally, so, this was the next best thing.
After all the pails were dry, I attached numbers to the front with double sided tape. Heres the printable I used for my numbers. For some reason there were only 24, so, I found a 25 online that was similar and printed it out as well.
Next up was the frame. I picked up 6 - 3 x 6s at Lowes and cut them down to have 7 - 32 inch long boards.
I laid them front side down and attached two beams with screws to the back to keep them together.
After that was finished, I stained the entire piece with Minwax dark walnut stain. (sorry, no picture)
I wanted to frame the piece to give it a finished look and to also hide the beams in the back, so, I measured the sides and bottom and cut each piece at a 45 degree angle to create a frame around it. I made sure to buy 2 extra 3 x 6s for the frame and then just turned them on the side and attached with a nail gun.
Then I stained those as well.
To hang the little pails, I wanted to use something unique, so, I picked these vintage styled nails that I found in hubbys collection.
I basically just eyeballed everything and created 5 rows of 5 nails for the 25 pails, predrilling holes first. I hung all the little pails and then stenciled JOY at the top with vintage stencils and heres how the whole thing turned out....
I think this is one of my favorite projects to date! Im so glad I made the time to try making one before December was half over. :)
I cant wait to hide little treats and notes in those little pails for my kids and hubby to find each day until Christmas. It will give them big smiles and they will love it... :)
Stay tuned for how it looks in the room and more Christmas decor coming up!
Have a great day!
Diana
Tuesday, February 11, 2014
Thursday, February 6, 2014
On Making Christmas Gifts Or Not

We had a pizza and beer Christmas party at lunch Thursday before we headed out for the long weekend. Trevor was finishing up the last of his Christmas gifts as we talked, lamenting how much time he had spent on them. Our friend Bill LaBerge allowed that he usually "no longer made gifts" ... I still do, from time to time, but I dont get too tense about getting them done in time for Christmas ... This year, I made some pots for my best clients and they will not be finished until sometime in January. Sam had the best comment ... "I made lots of gifts for people to give to other people. They paid me to make their gifts." ... a good idea we all decided. Heres what he made .... Click the pictures to enlarge them ...

Three howling wolves for a woman whose last name is Wolff

Three strolling turkeys for three different turkey hunters

three states of Vermont and three states of Maine (no picture of those)

All the backs are signed and stamped with the owners name ... If you can draw the shape you want, he can probably make it for you ... Theyre very reasonably priced at around $50. each .... email him directly at sam@com
Subscribe to:
Comments (Atom)